 |
 |
 |
 |
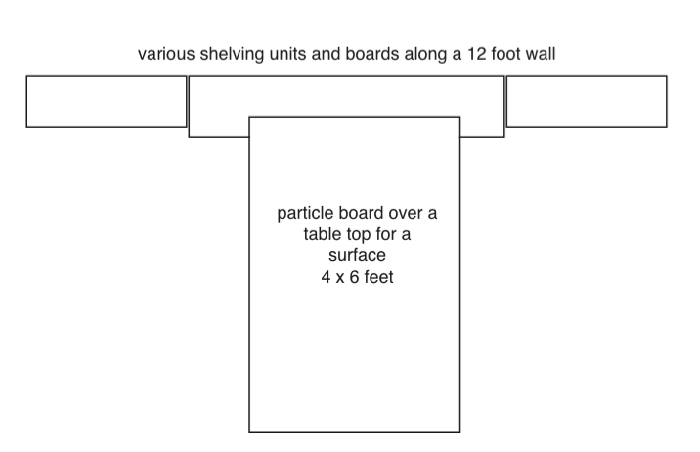
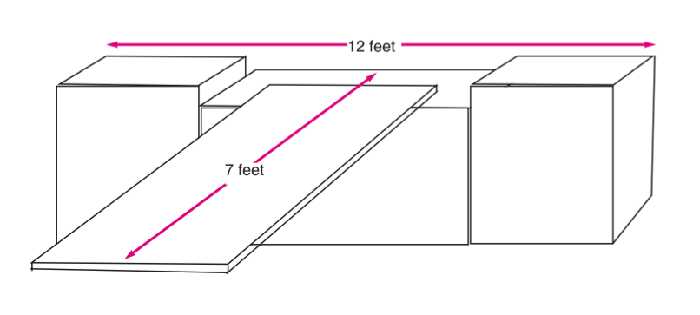
The little town will be built along one twelve foot wall, on top of various shelf units and boards. The shelves on each end of the room are 12 inches deep and the board in the middle of them is 16 inches deep. Sticking out from the middle of the board (and overlapping it a few inches) are particle boards over a table, making the table top four feet wide and six feet long. Adding the table length to the board along the wall, it will extend into the room seven feet, still giving me a couple feet to walk around the open end of the table.
This view shows the shelves at the ends of the 12 foot wall are slightly taller than the board between them. The table is also a little higher than the board and lower than the end shelves, so there will be some steps and hills needed to connect everything. The view from this drawing is the view standing in the doorway of the room, and a lot of town photos will be from this view as I go. Ok, that's enough about the room layout, on to the buildings!
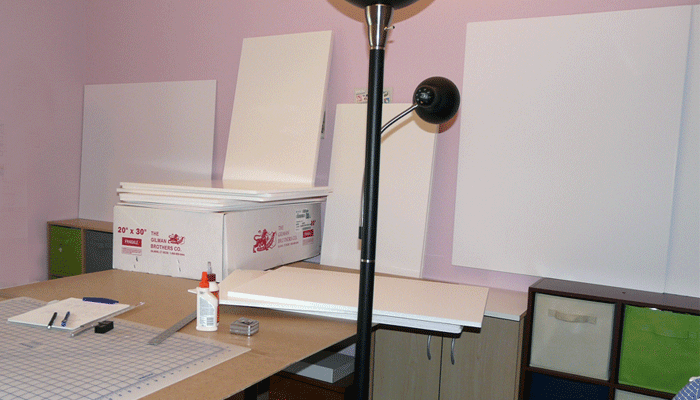
Here is the actual room with the shelves and boards in view. The black pole lamp will be in a lot of photos as I need the light in the middle of the room. I bought 60 sheets of 20 x 30 x 1/2 inch foamcore for the building floors and walls, and 20 sheets of the 1/4 inch thick ones for the fronts or backs of the buildings. I also got 4 sheets of 30x40 pieces for the backs of the biggest buildings. Only a portion of the foamcore shows in this picture, the rest is on the floor. Not sure yet what I'll do about the pink walls...
Until the buildings are all in place, I can use the main table for my construction area. These are the pieces for the first building, which is the smallest building in the town.

I'm using wood glue to put the buildings all together, though white craft glue will work too. I prefer the wood glue because it's a little thicker and sticks the pieces together faster. Pieces are held together by plain old scotch tape. The buildings aren't too pretty at this point, but keep in mind that eventually all surfaces will be covered so the tape, glue and imperfect walls won't show.

Here's building one assembled. I think I'm going to put all the buildings together to this first stage first, then work on them one at a time to finish them. This is actually the fastest part of making the buildings - it's the finishing of them that takes endless hours, then the fun part can begin!
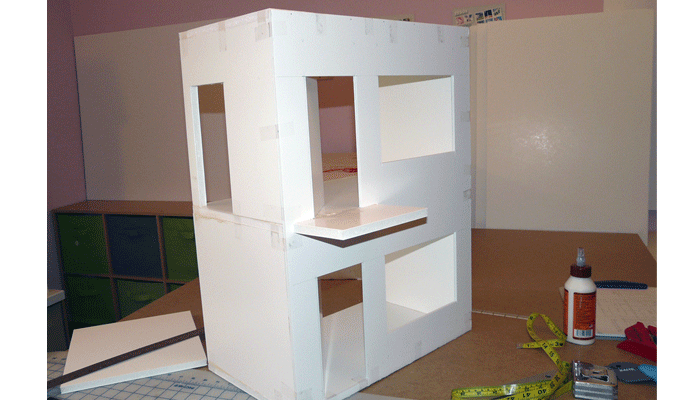
Building two is similar in size to the first building, but with an additional floor. Bad planning on my part had the front wall needing a seam in the middle of the windows. Oh well, live and learn. I'm not cutting the doors all the way through along one side, making an instant hinge. Not sure I'll leave them that way though, as it will make the doors hard to finish later on.
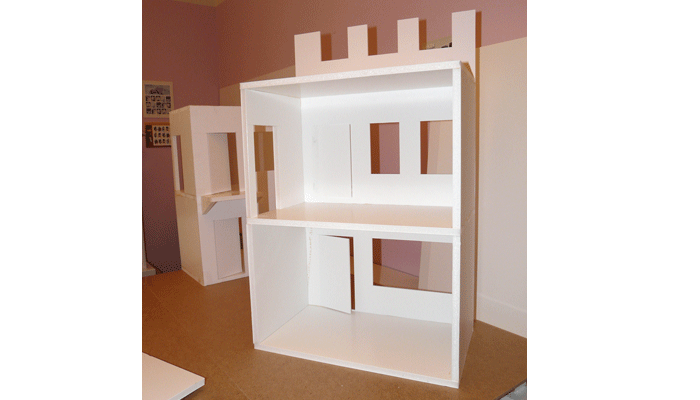
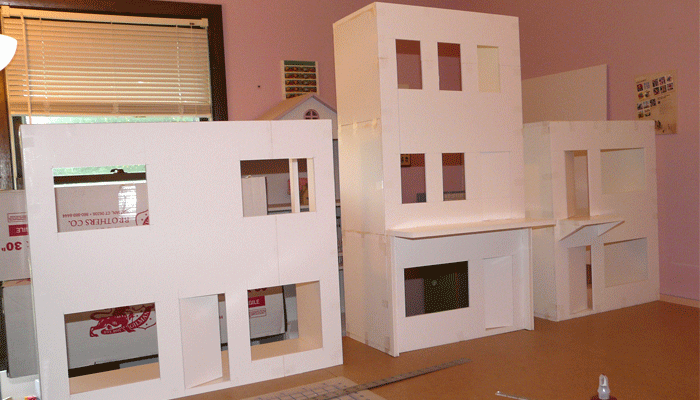
Here are the first three buildings all put together. They are all 10 inches deep with 11 inches to the ceilings. I think I want the rest of the buildings a little deeper than 10 inches and will go to 12 inches deep. Not sure exactly how many buildings I'll make total, but I think at least three more. I keep rearranging them on paper to see how many I can comfortably fit in my space. I have a lot of dolls and they'd like as much room as they can get!
 |
 |
 |