 |
 |
 |
 |
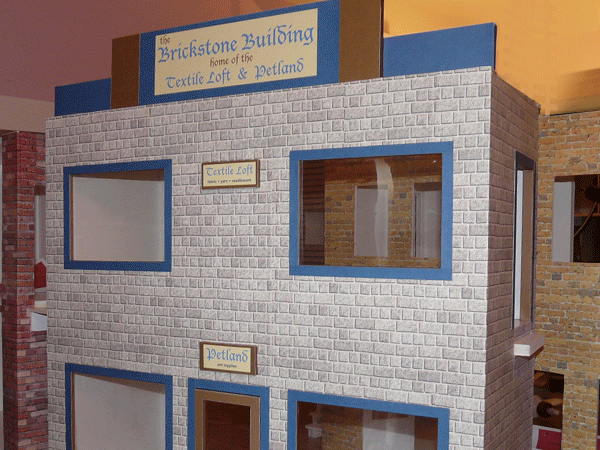
Signs were added next, including a small one with a hand pointing to the stairs on the side of the building, leading to the Textile Loft upstairs.

The top of the building looked unfinished, so I added a little top trim and gave the building it's own name. That looks better. Now all this building needs on the outside is awnings, but I need to pick up some corrugated stock for them. Until then, it's on to the next building.
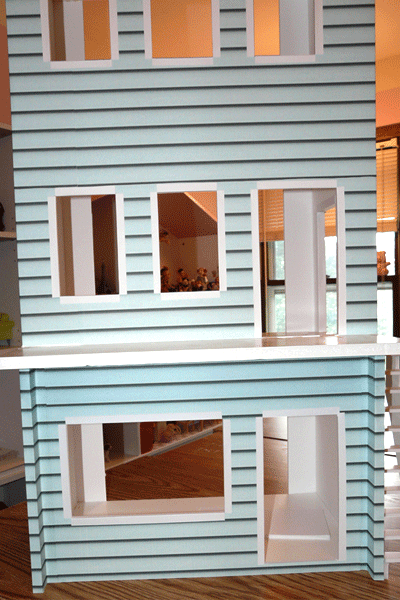
This will be the market downstairs and the two story apartment above. I used narrow white strips to start the trim work.
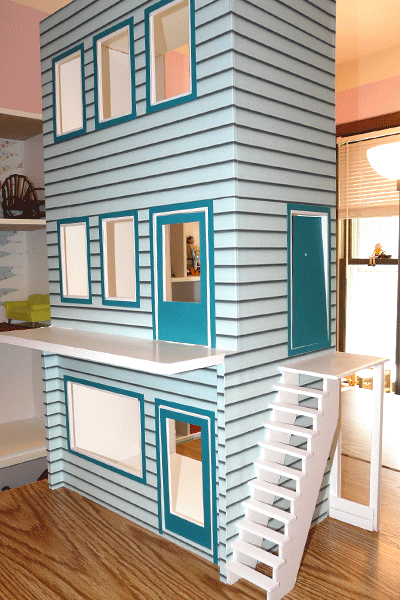
Then I used a dark teal for the outer strips, this time placing them a little bit away from the edge of the window openings, so more of the white was visible. Otherwise, it was the same process as I used on the first building.

All three doors get covered in the same dark teal as the trim. The shop door gets a large window cut out, the apartment gets a smaller window in the door to the balcony, and the door into the apartment from the outside stairs only gets a small peephole. The windowed doors and the big window in the shop all get clear acrylic "windows" glued in place. The upper windows I'll leave open so people can lean out when they want to. (And so I can take pictures from them at a later date, if I need to.)
I made the Fern Lake Foods sign for the front of the building, though I'm not too sure I like it.
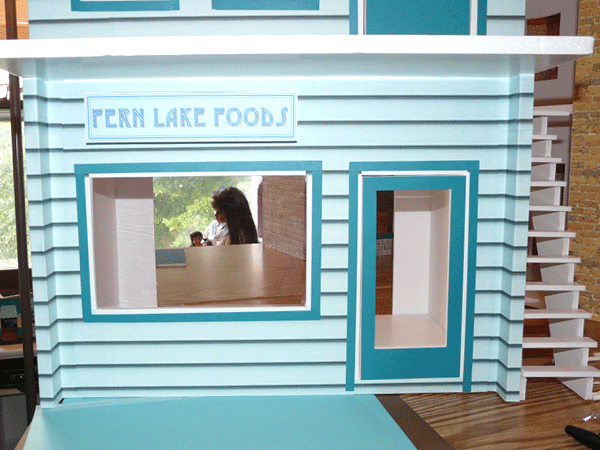
The balcony gets a whitewashed wooden plank floor (printed paper of course).

Next, I cut the pieces to be the bottom edge of the railing for the balcony. I'm using 6" sucker sticks cut in half for the railing's posts. Not a lot of fun to cut with an xacto knife.
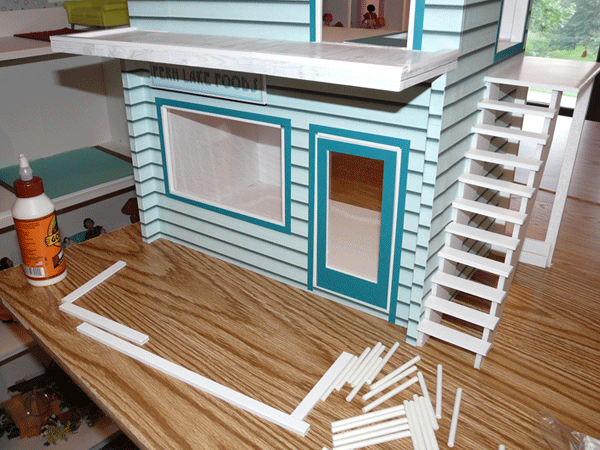
I glue a few of the posts in place and put the top railing on. So far, so good, they're working better than I thought they would.
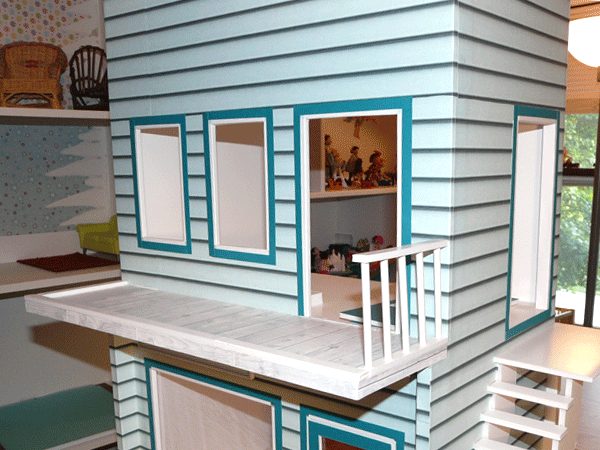
The rest of the railing is finished and liberally glued, then I set a few "sidewalk" tiles on top to hold them down to dry nice and firmly.
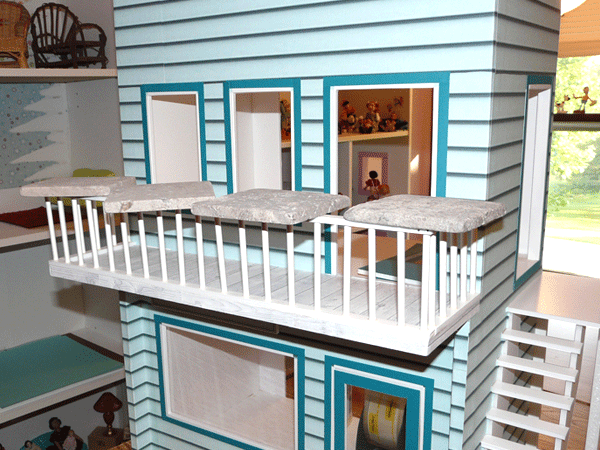
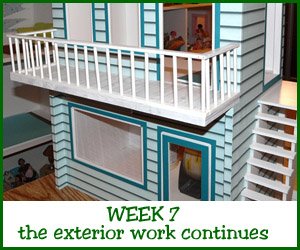
The finished railing on the balcony with a great view of the whole town!
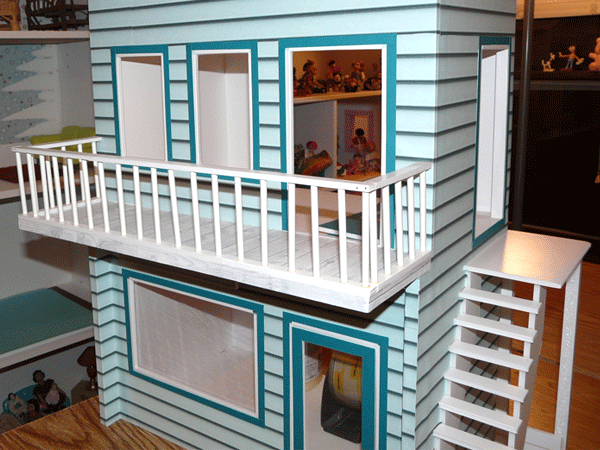
Next, I glued the same sucker sticks to each step on the stairs. The hand rail was rather tricky and everything seemed too wide, so I finally cut a narrow piece of foamcore, and cut out most of the foam in the middle, leaving it sort of hollow in the middle. I turned this over and filled the trough with glue and set it over the tops of the posts and let it dry.

The handrail was kind of bent and lumpy from squeezing it onto the posts, so I added a cover of the teal I used on the trim.
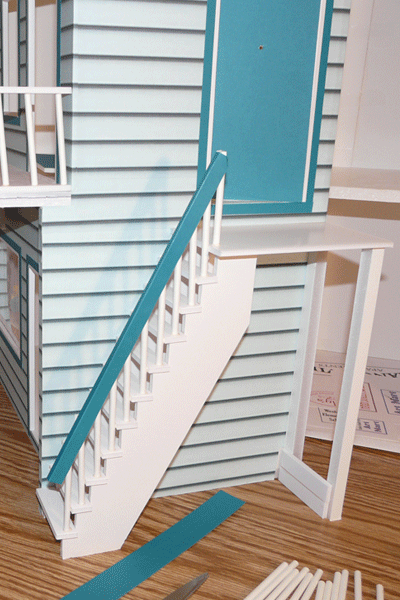
Next, the porch gets the same posts as the balcony got.
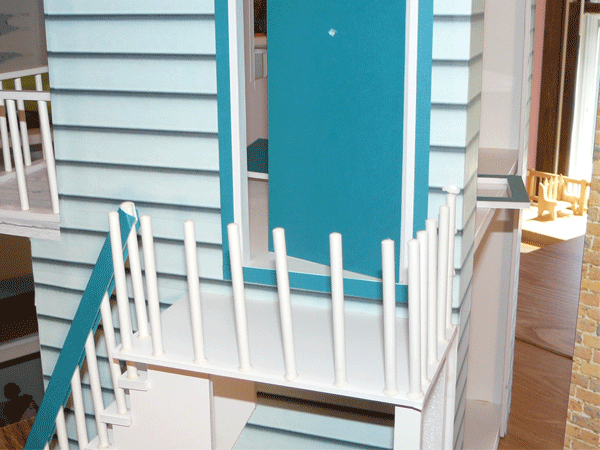
The top rail is added and then handy tiles used once again to keep thing in place while they dry.
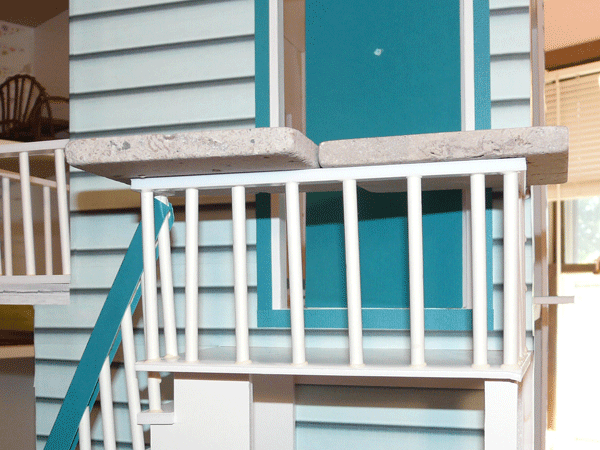
The finished porch! Also note the lettering lying in front of the building. I still didn't like the original sign, so off it came and I'm putting a different one up instead.

The new sign is bigger and more visible. I used chipboard letters on a piece of cardstock. The outside of this building is finished!

 |
 |
 |